JOCKIT
Interactive web-based launchpad.
This is Mumu’s project documentation for The Code of Music, Week #1.
Showcase at First

Try it out!
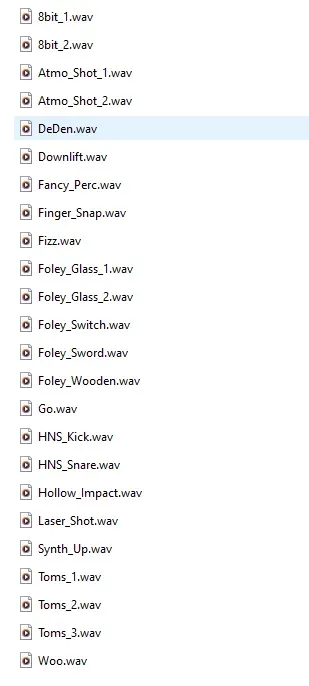
Inspiration
Asked a composer friend to share his go-to samples.
Visual Design
Structure
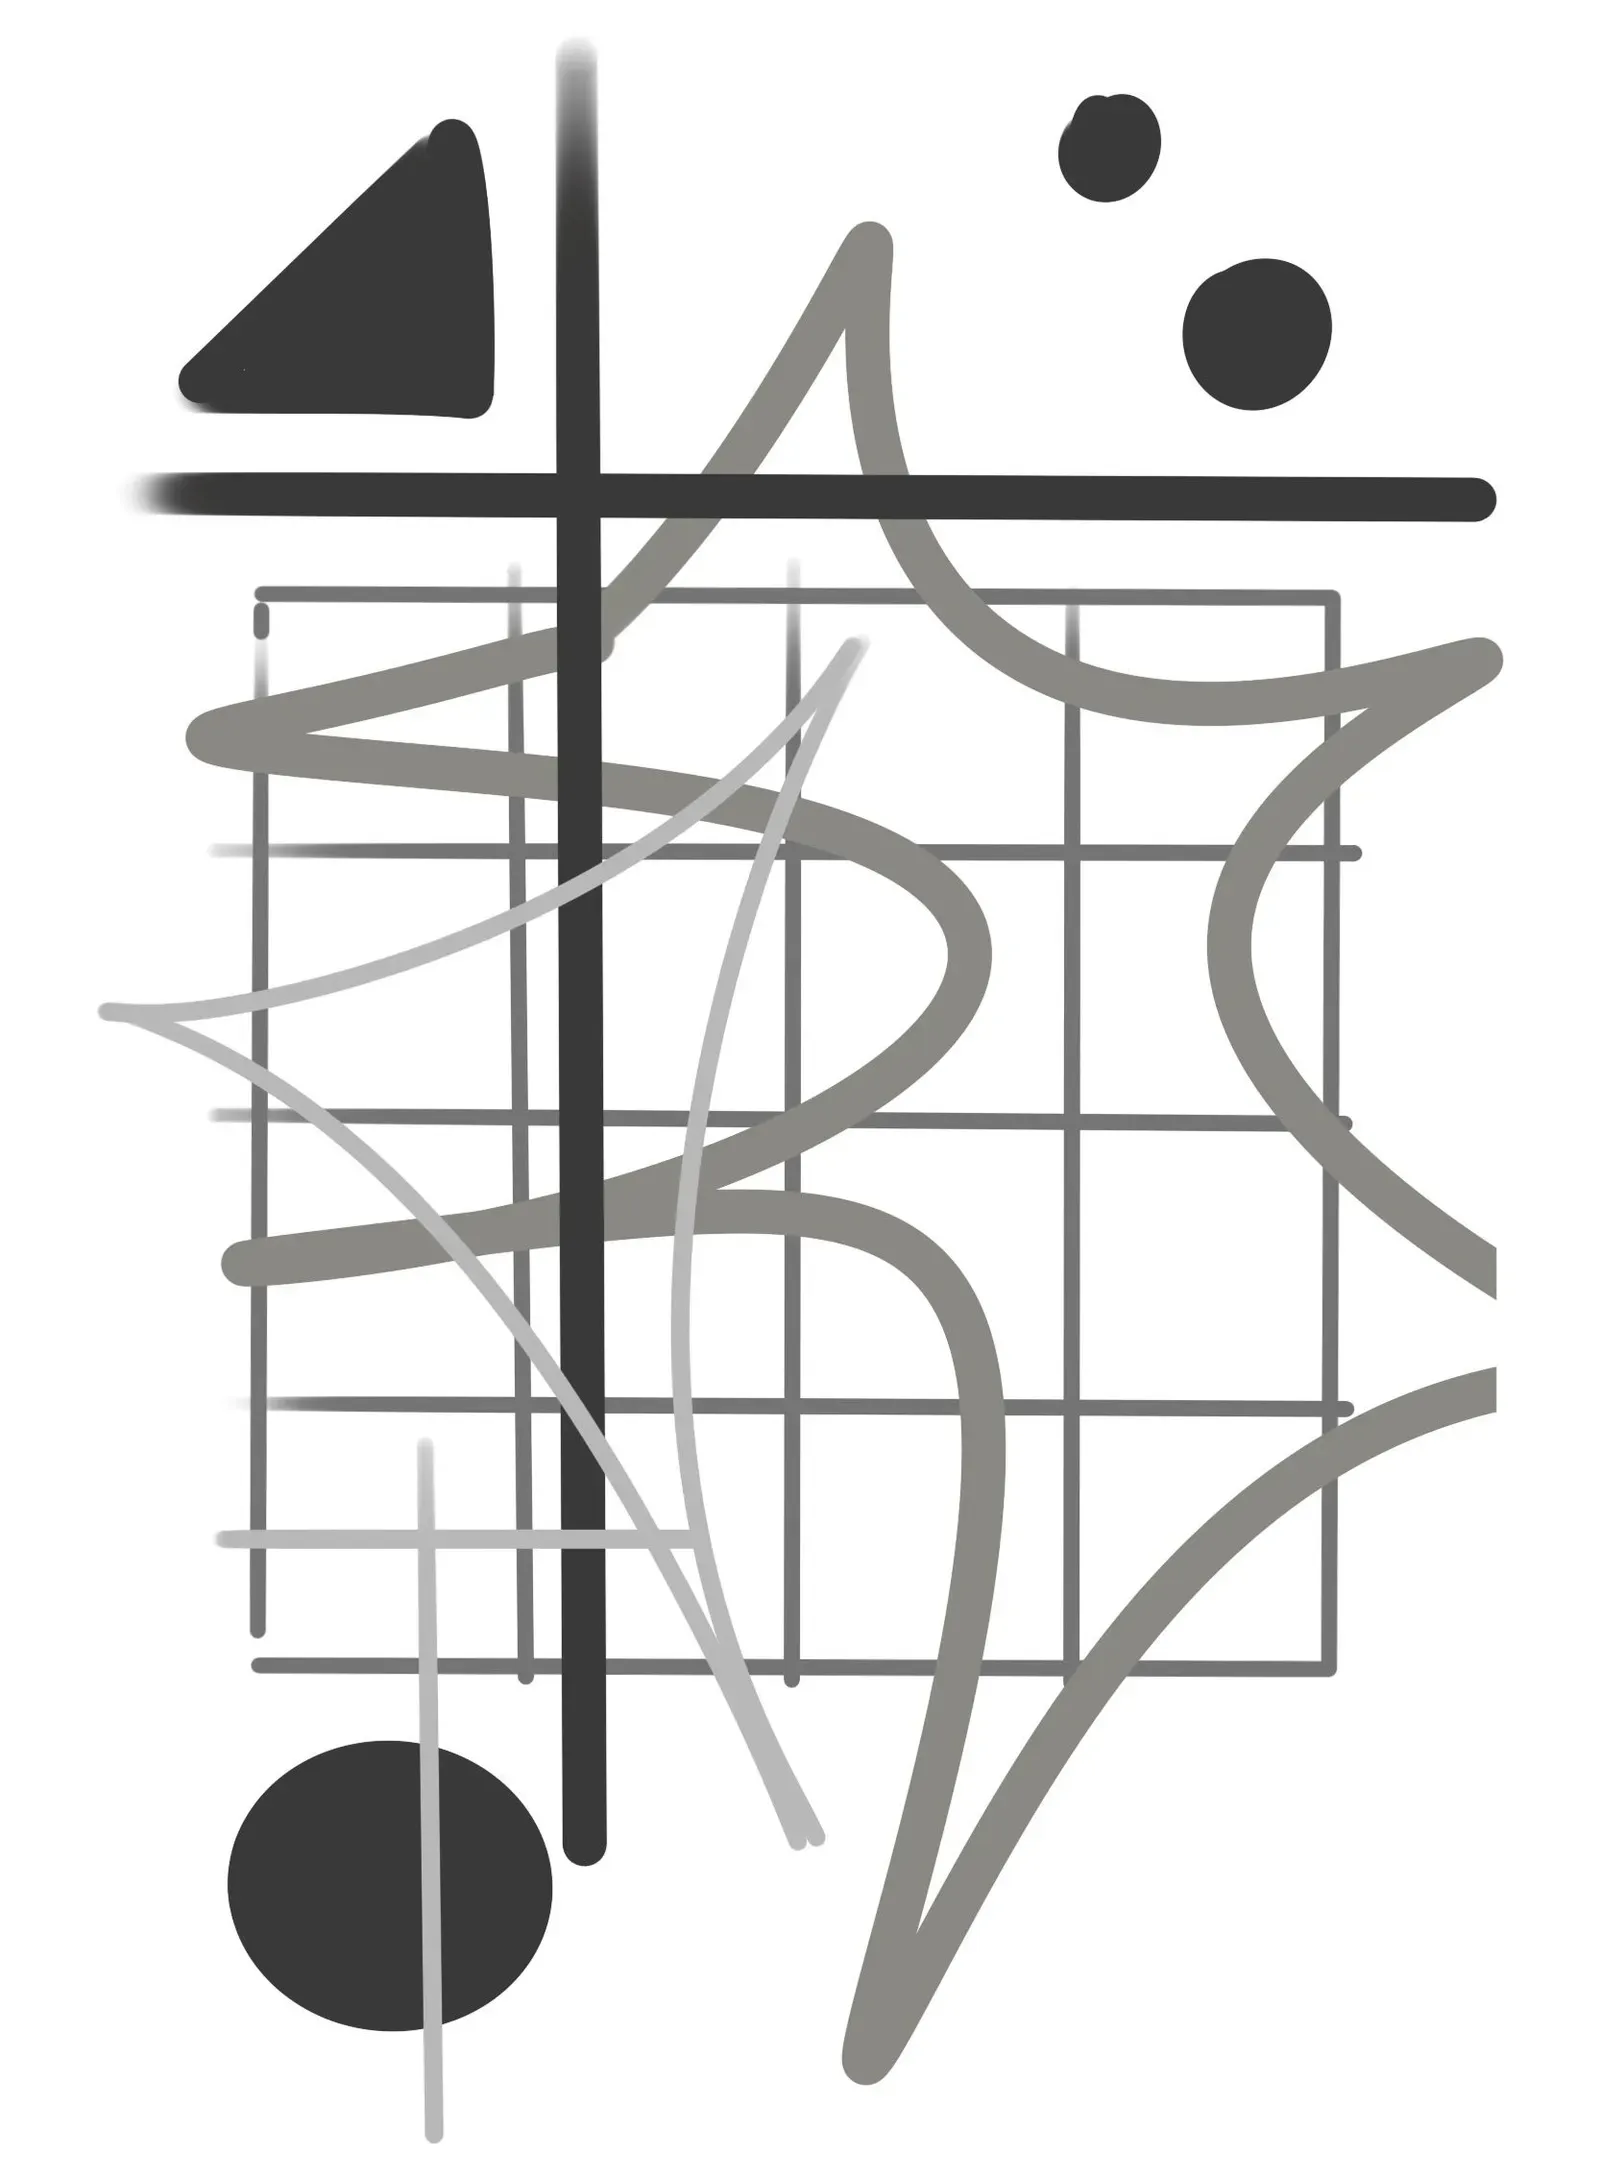
A - Base Grid
Since the project is sample-based electronic music, I started by drawing inspiration from the Launchpad (1. it’s an instrument, 2. its interaction model aligns with my idea) :
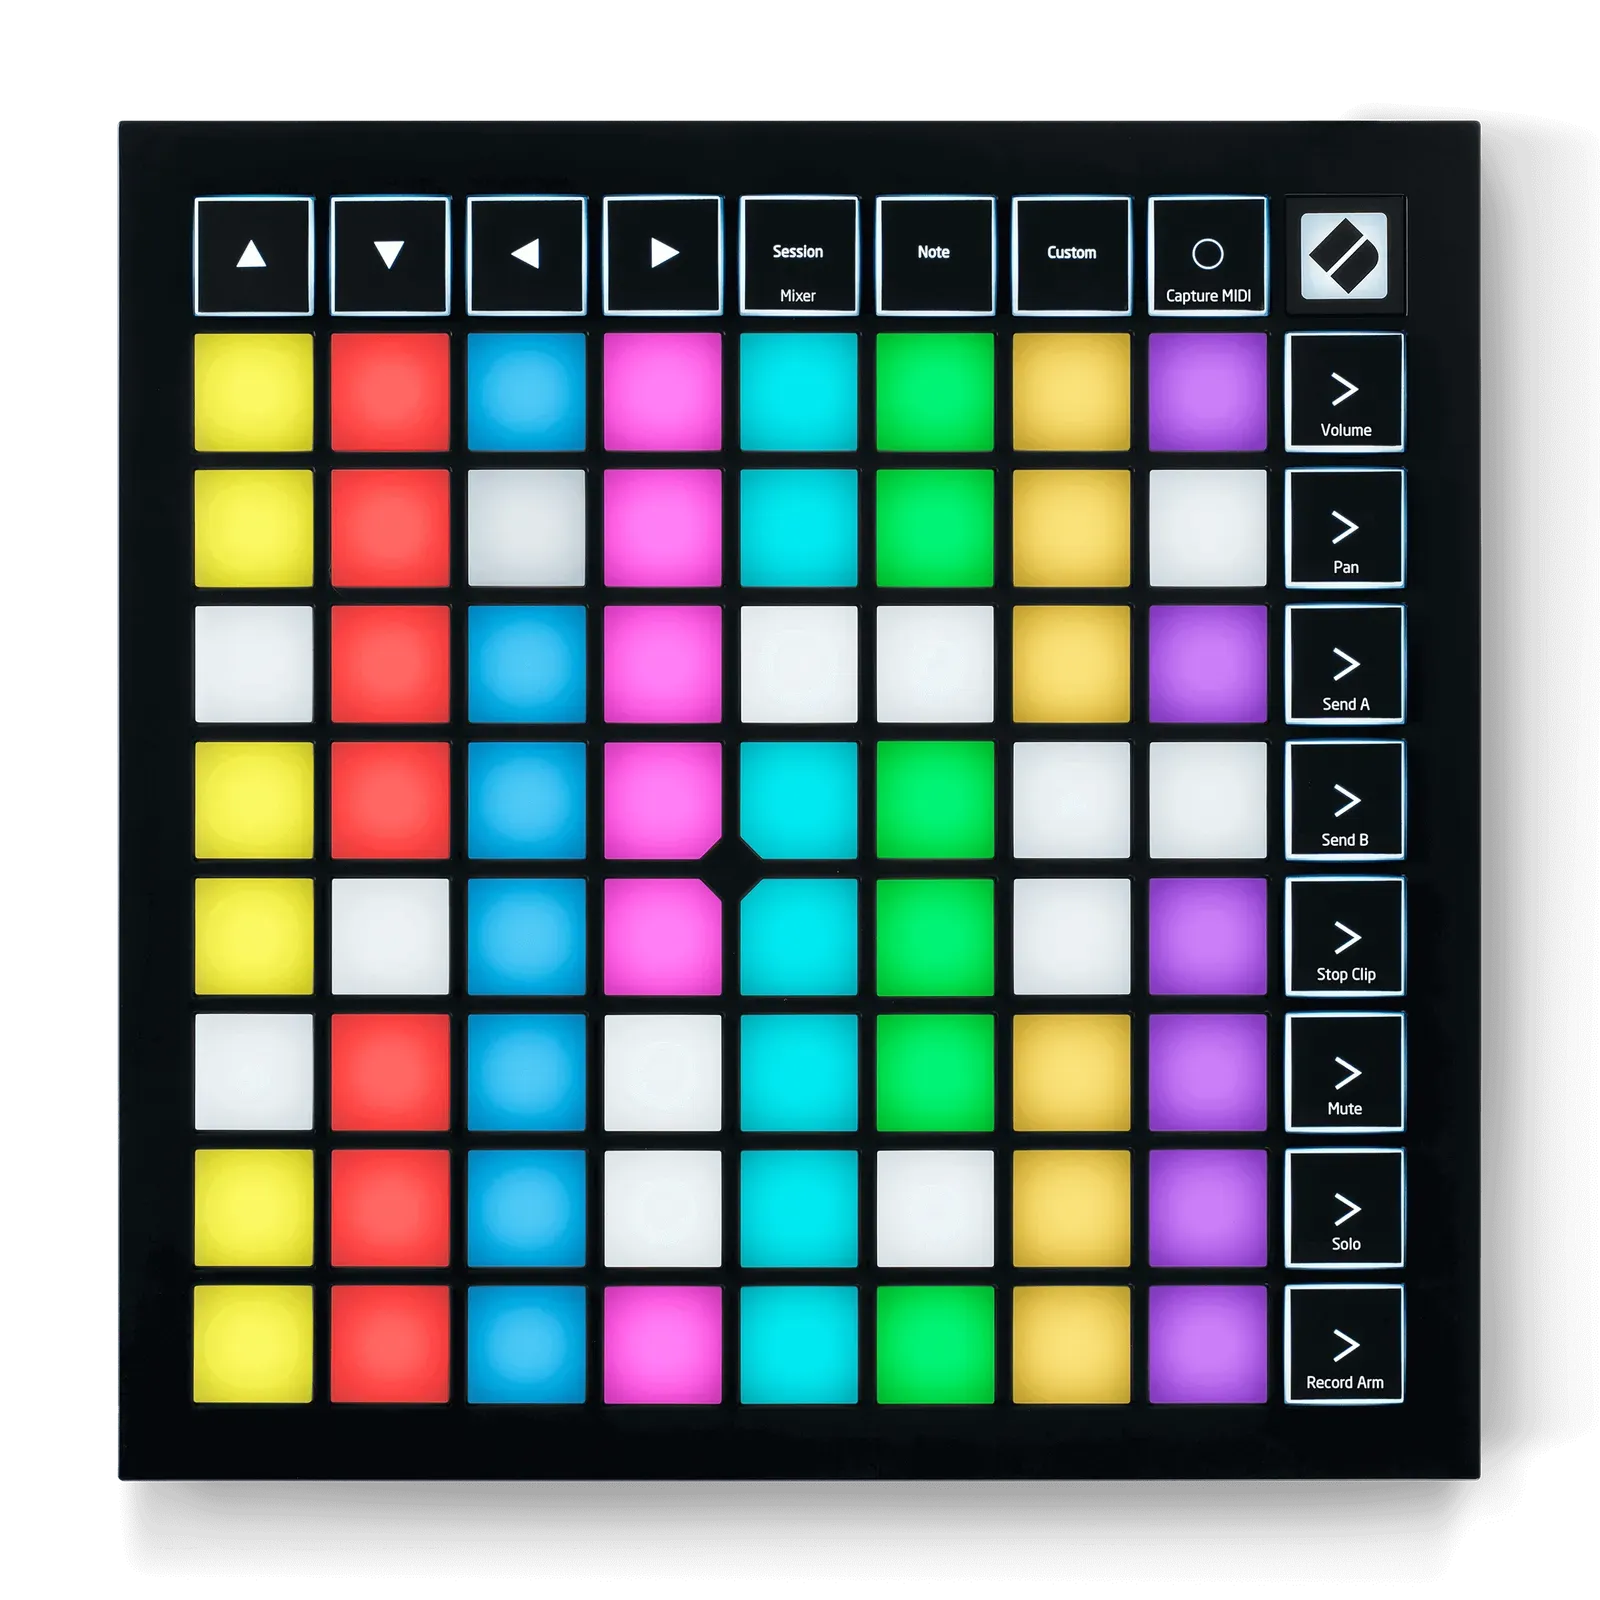
The shorter, more fundamental sounds will be placed into a 4×4 grid, where each unit serves as a basis for motion effects.
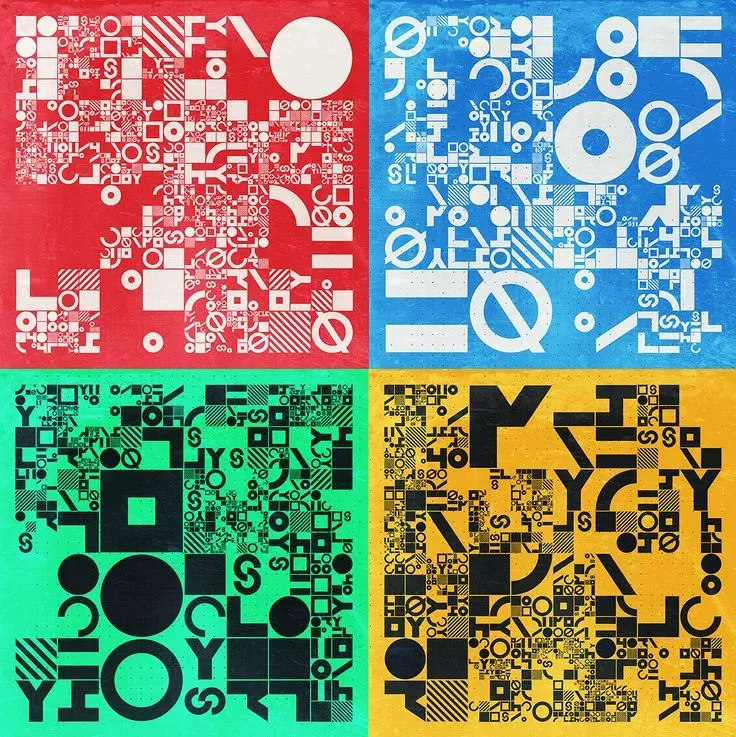
Something like this ↓, but in a flat 2D form. On a side note, Frums is an artist I deeply admire! You’ll likely see references to her work frequently in my future projects—she’s been a major source of inspiration for me.

B - Big Ones
The distinctive, standout sounds will have their dedicated designs, spread across the canvas (4 total).
C - Effects Overlay
The atmosphere-building sounds will influence the overall screen elements (4 total). Reference:
Visual Style
Electronic, glitch, collage. I want to include some pixel art.
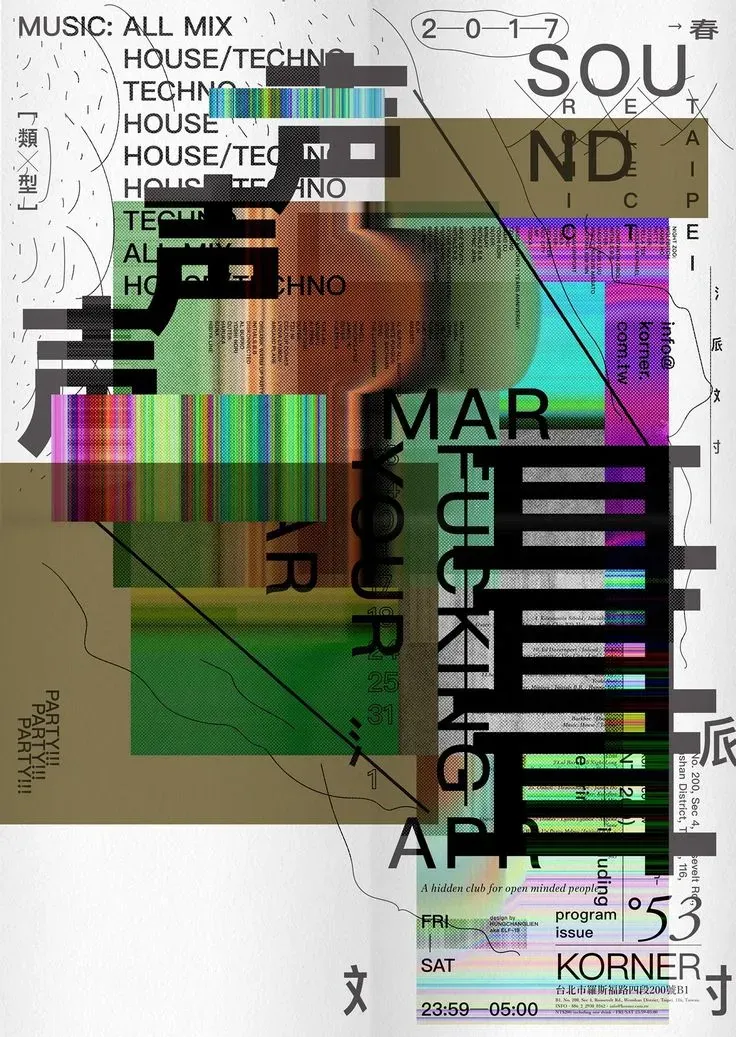
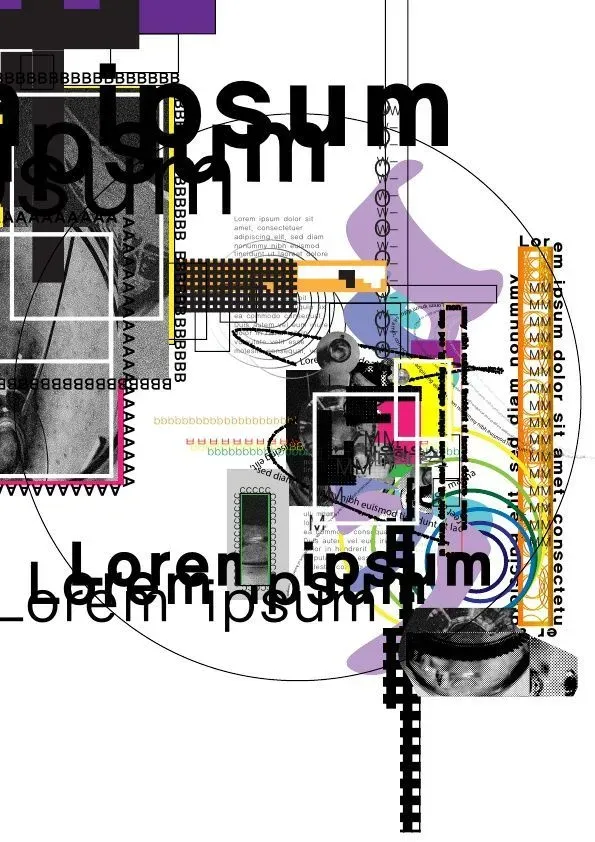
Structure Sketch:
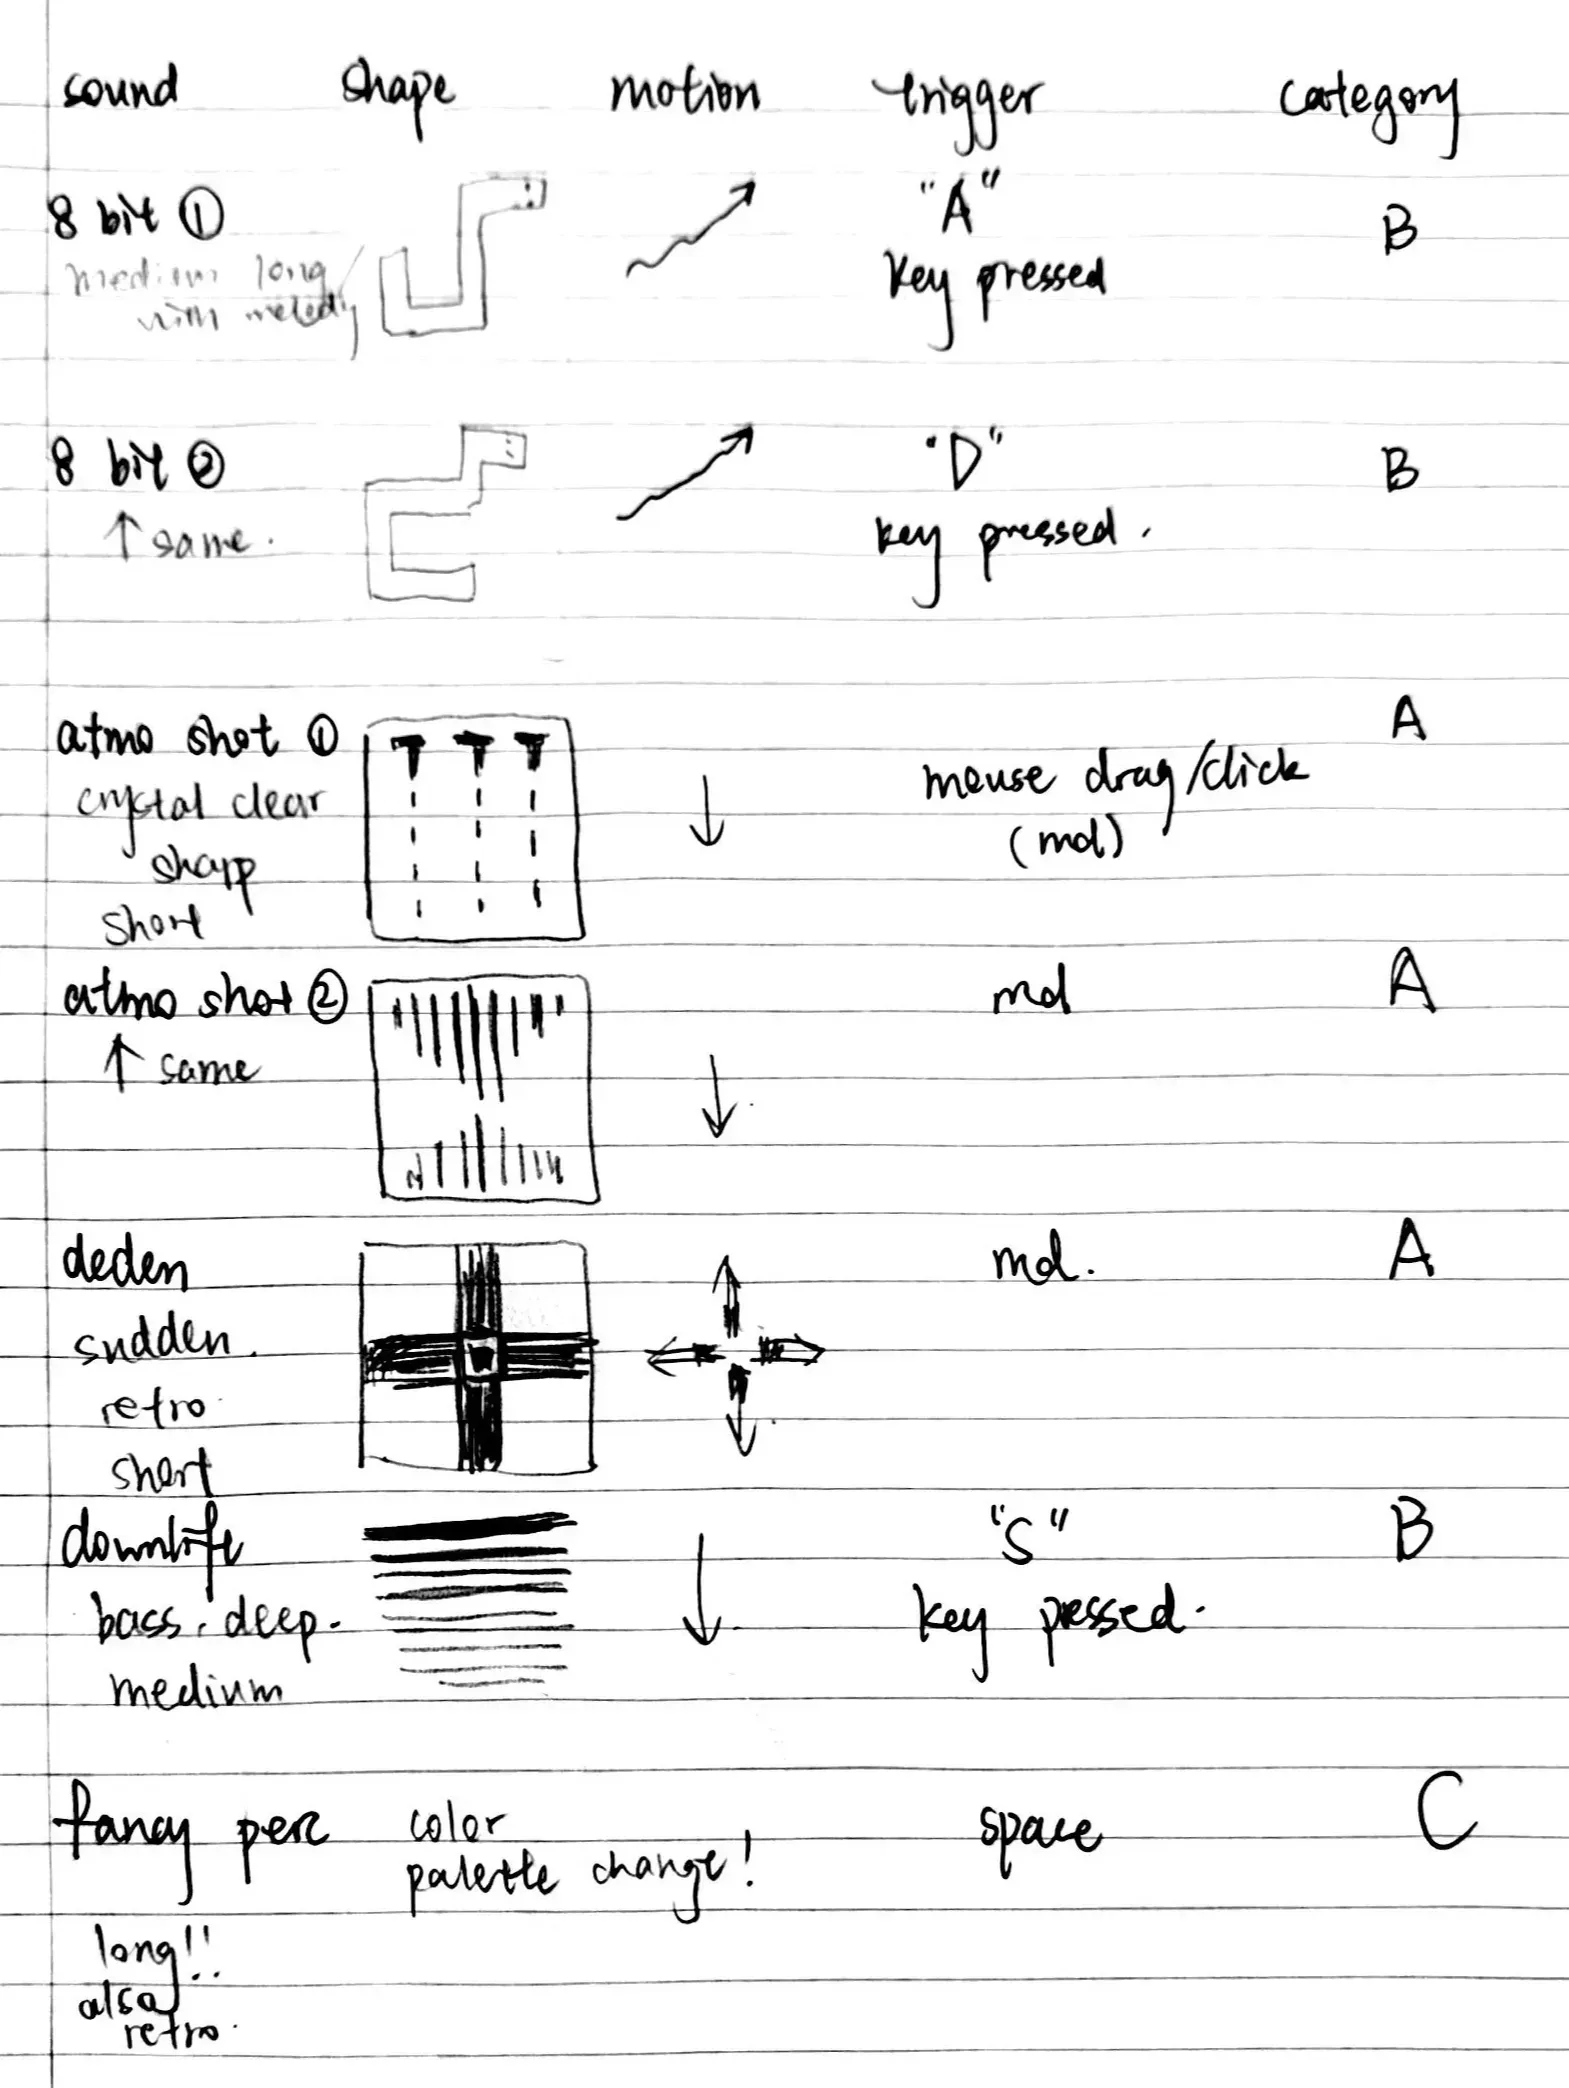
Individual Sound Design
The triggering mechanics are detailed in the next section.
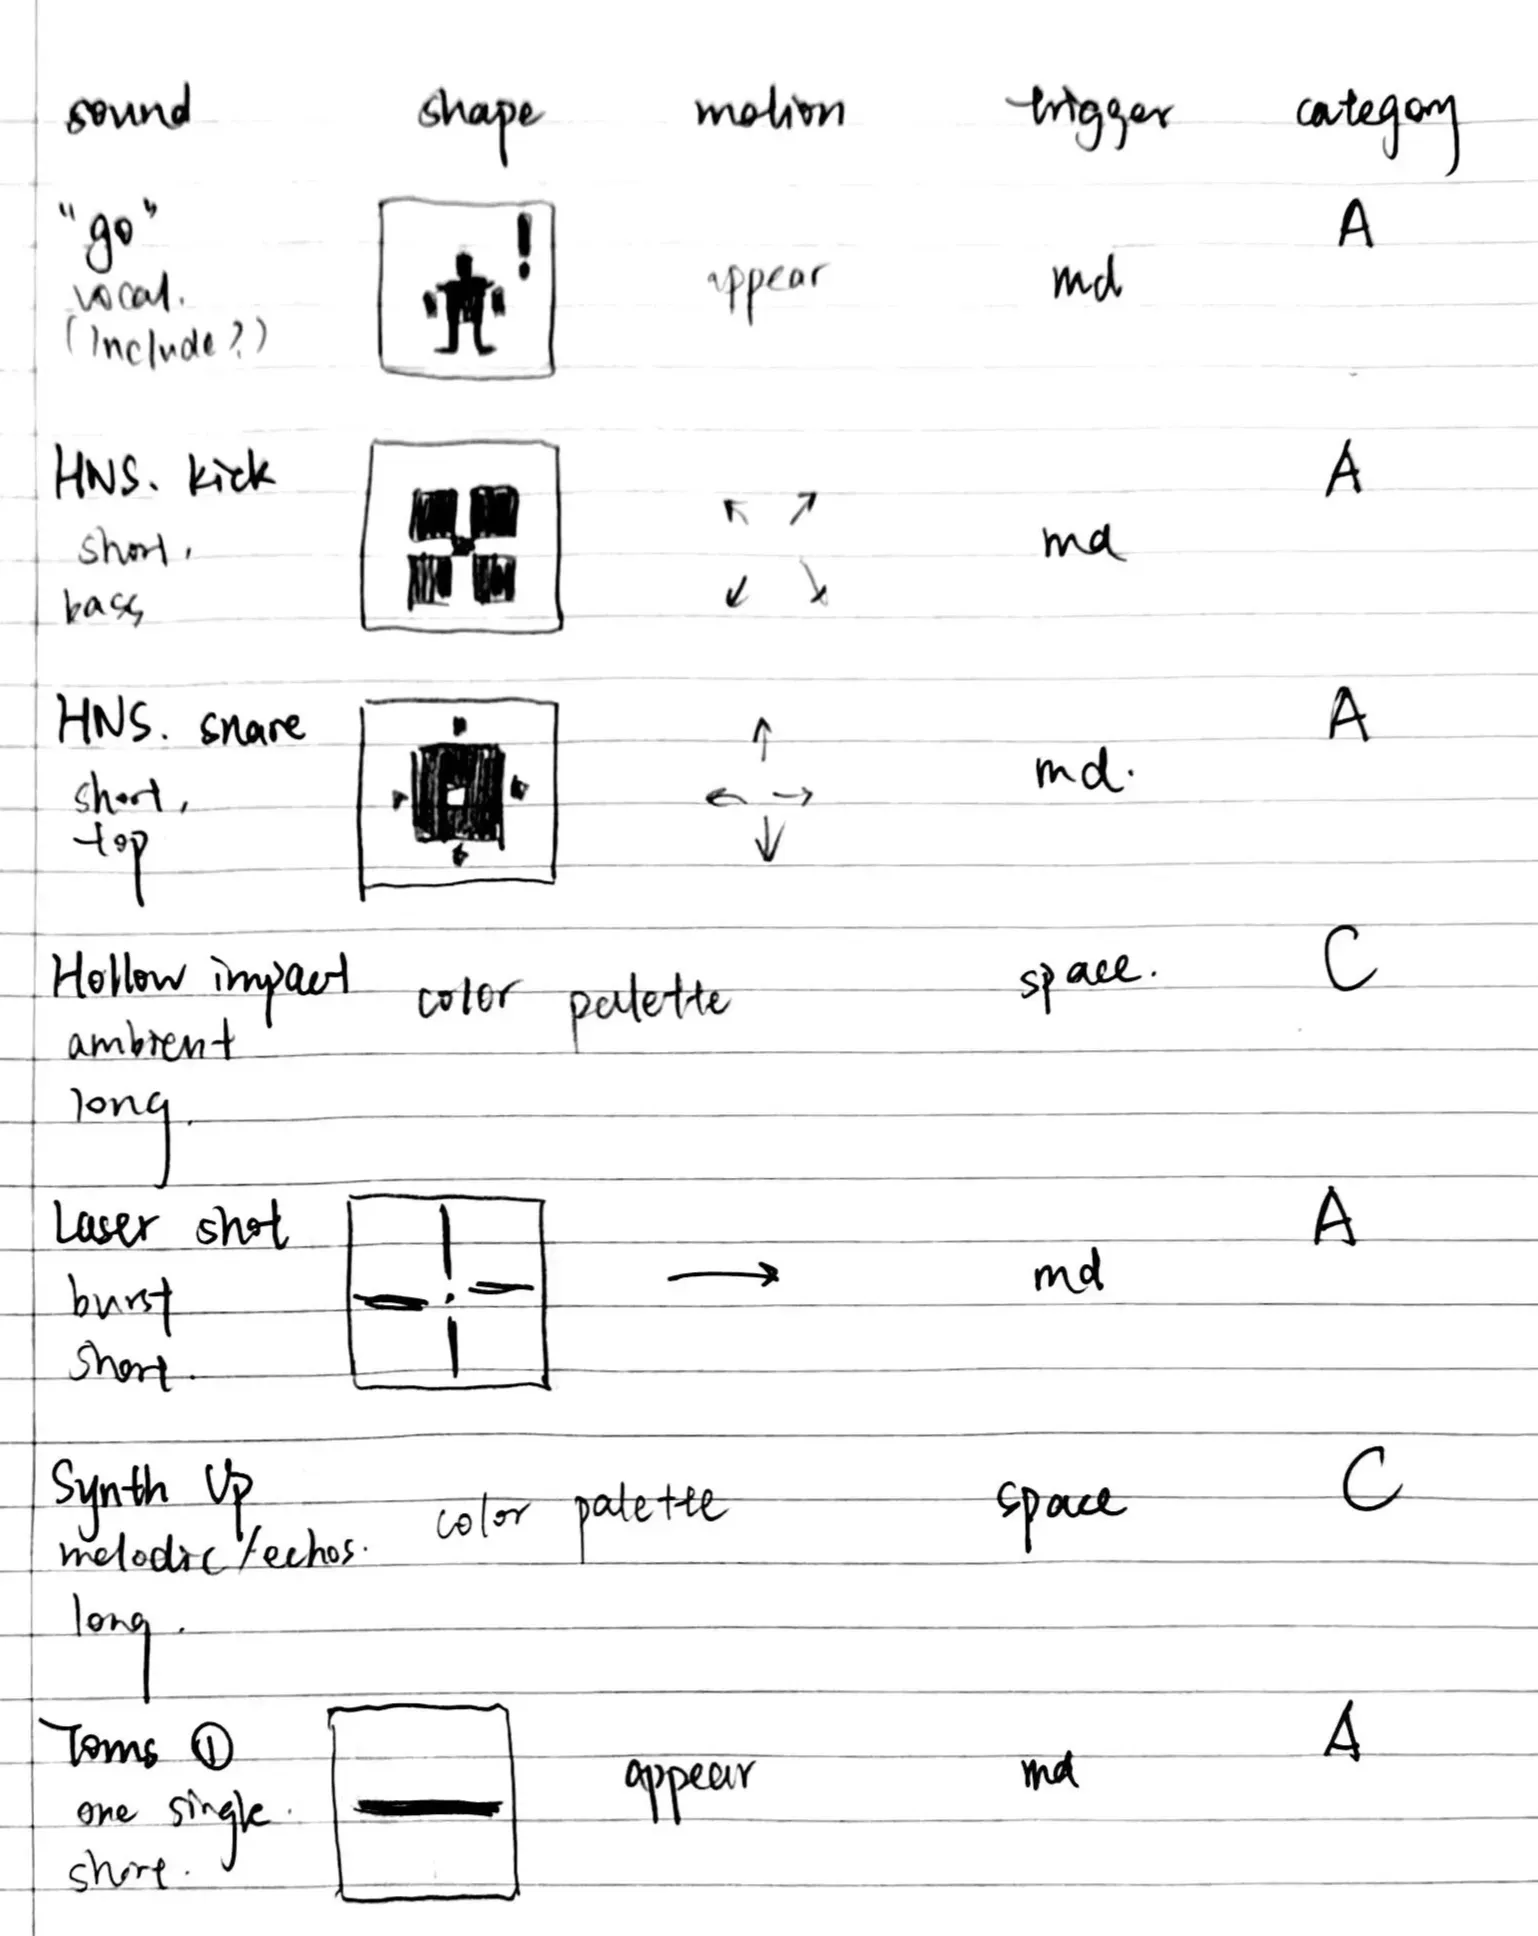
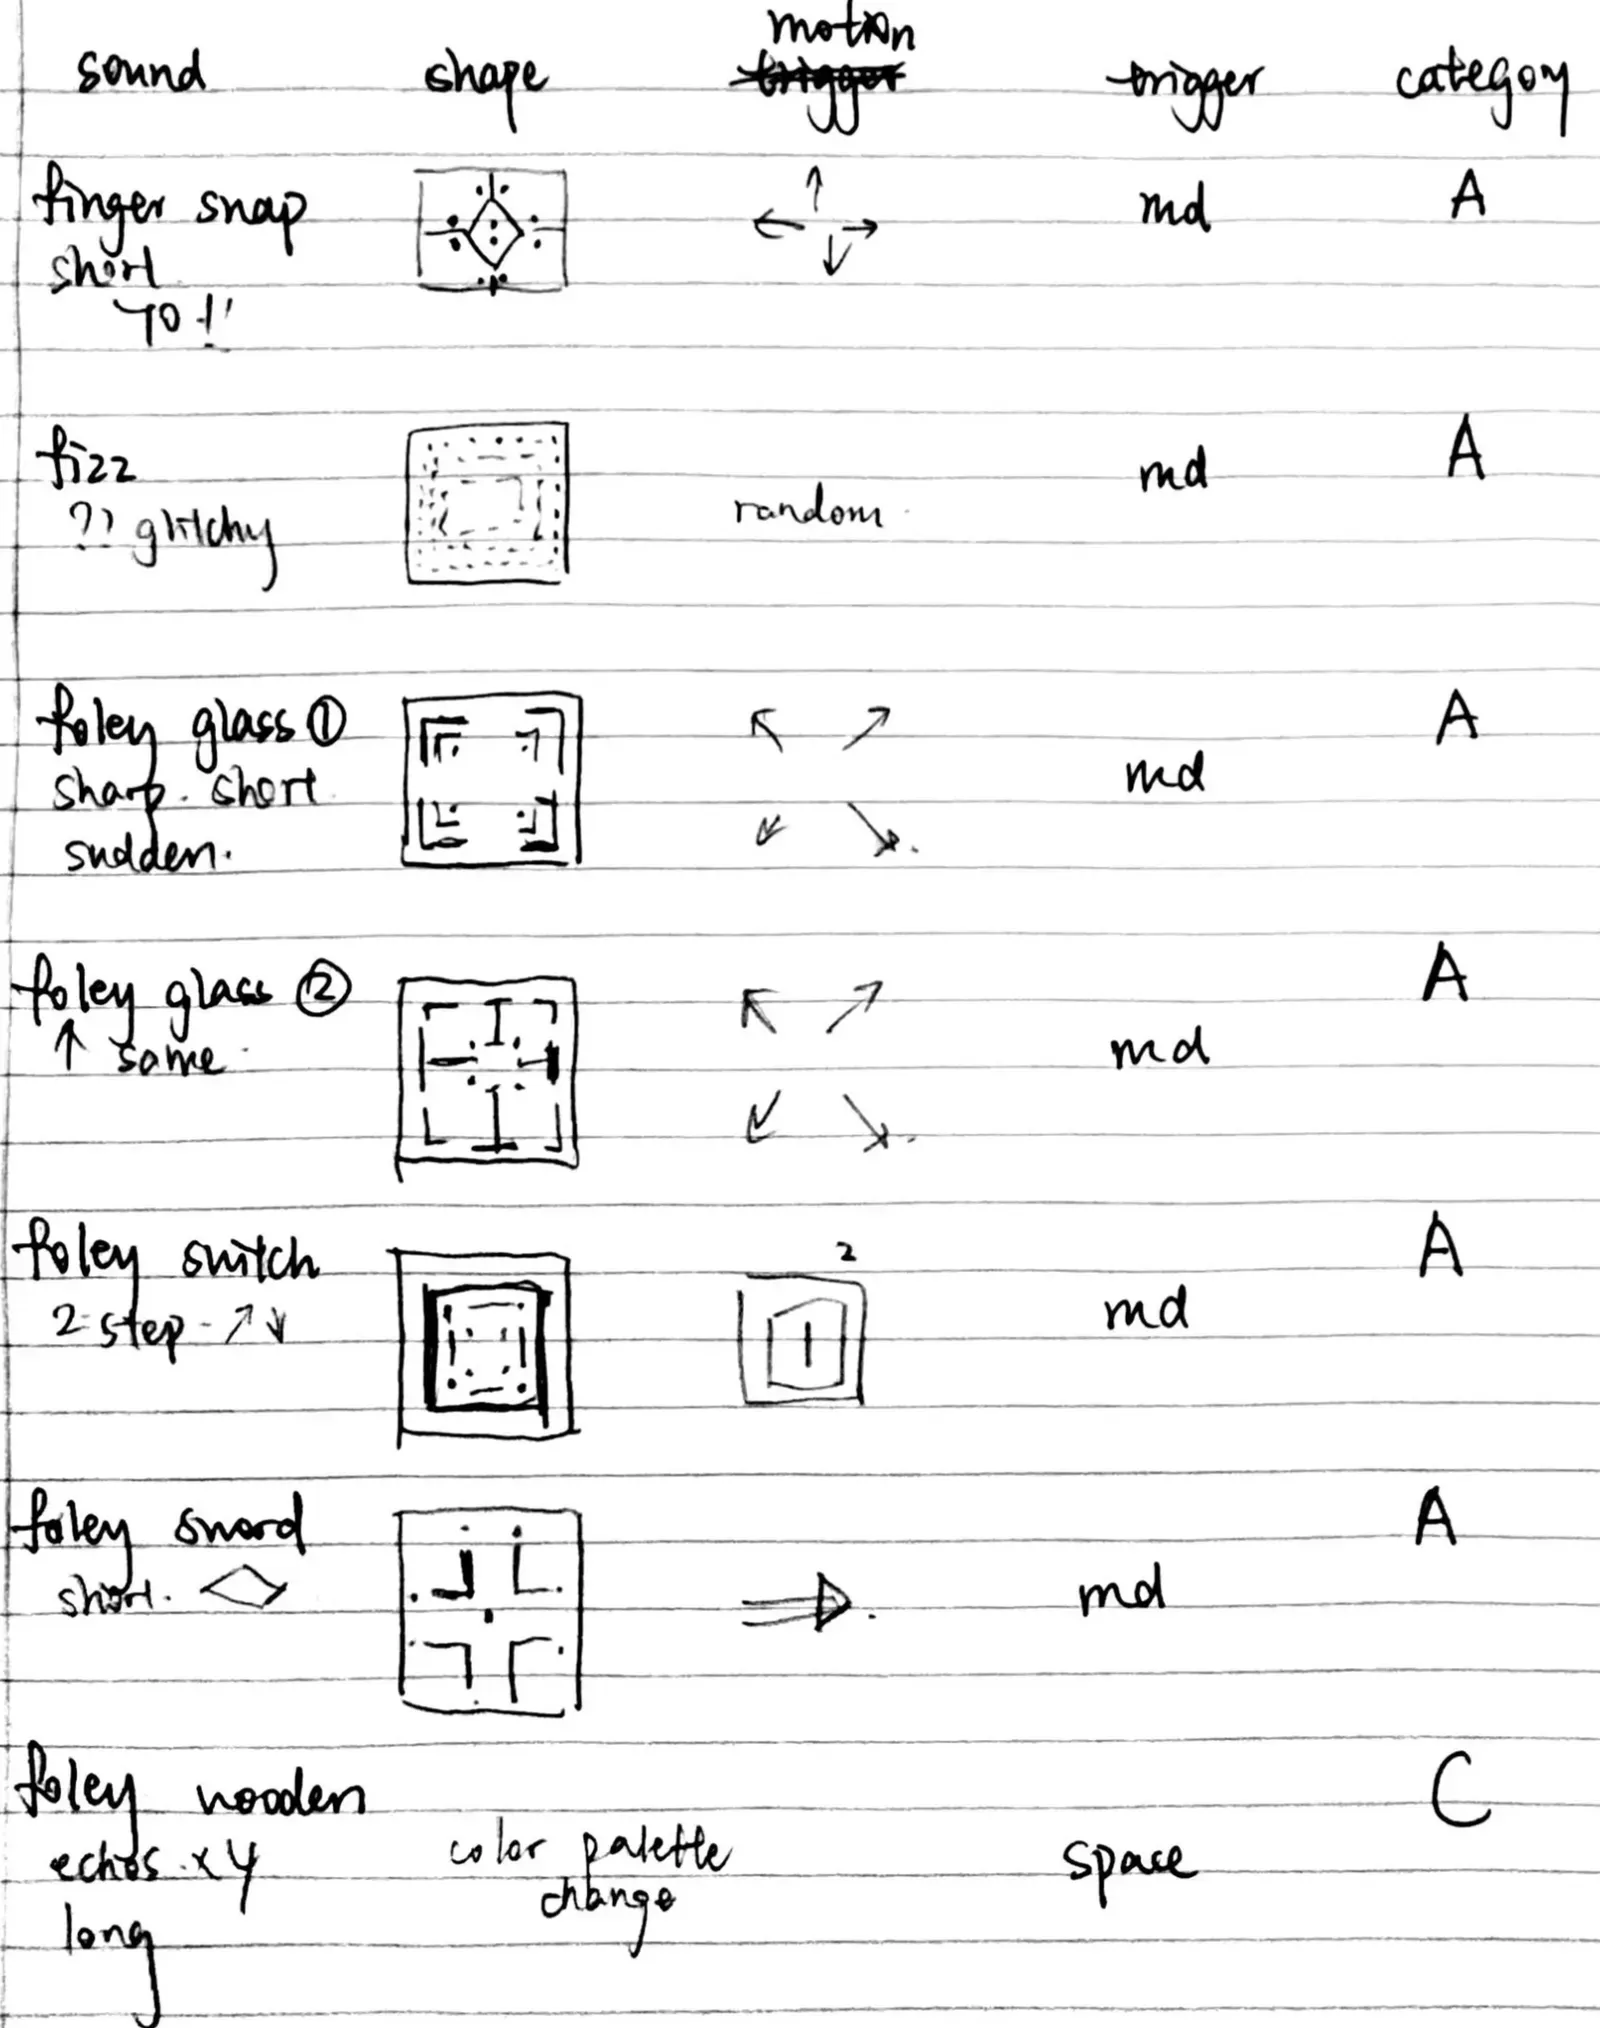
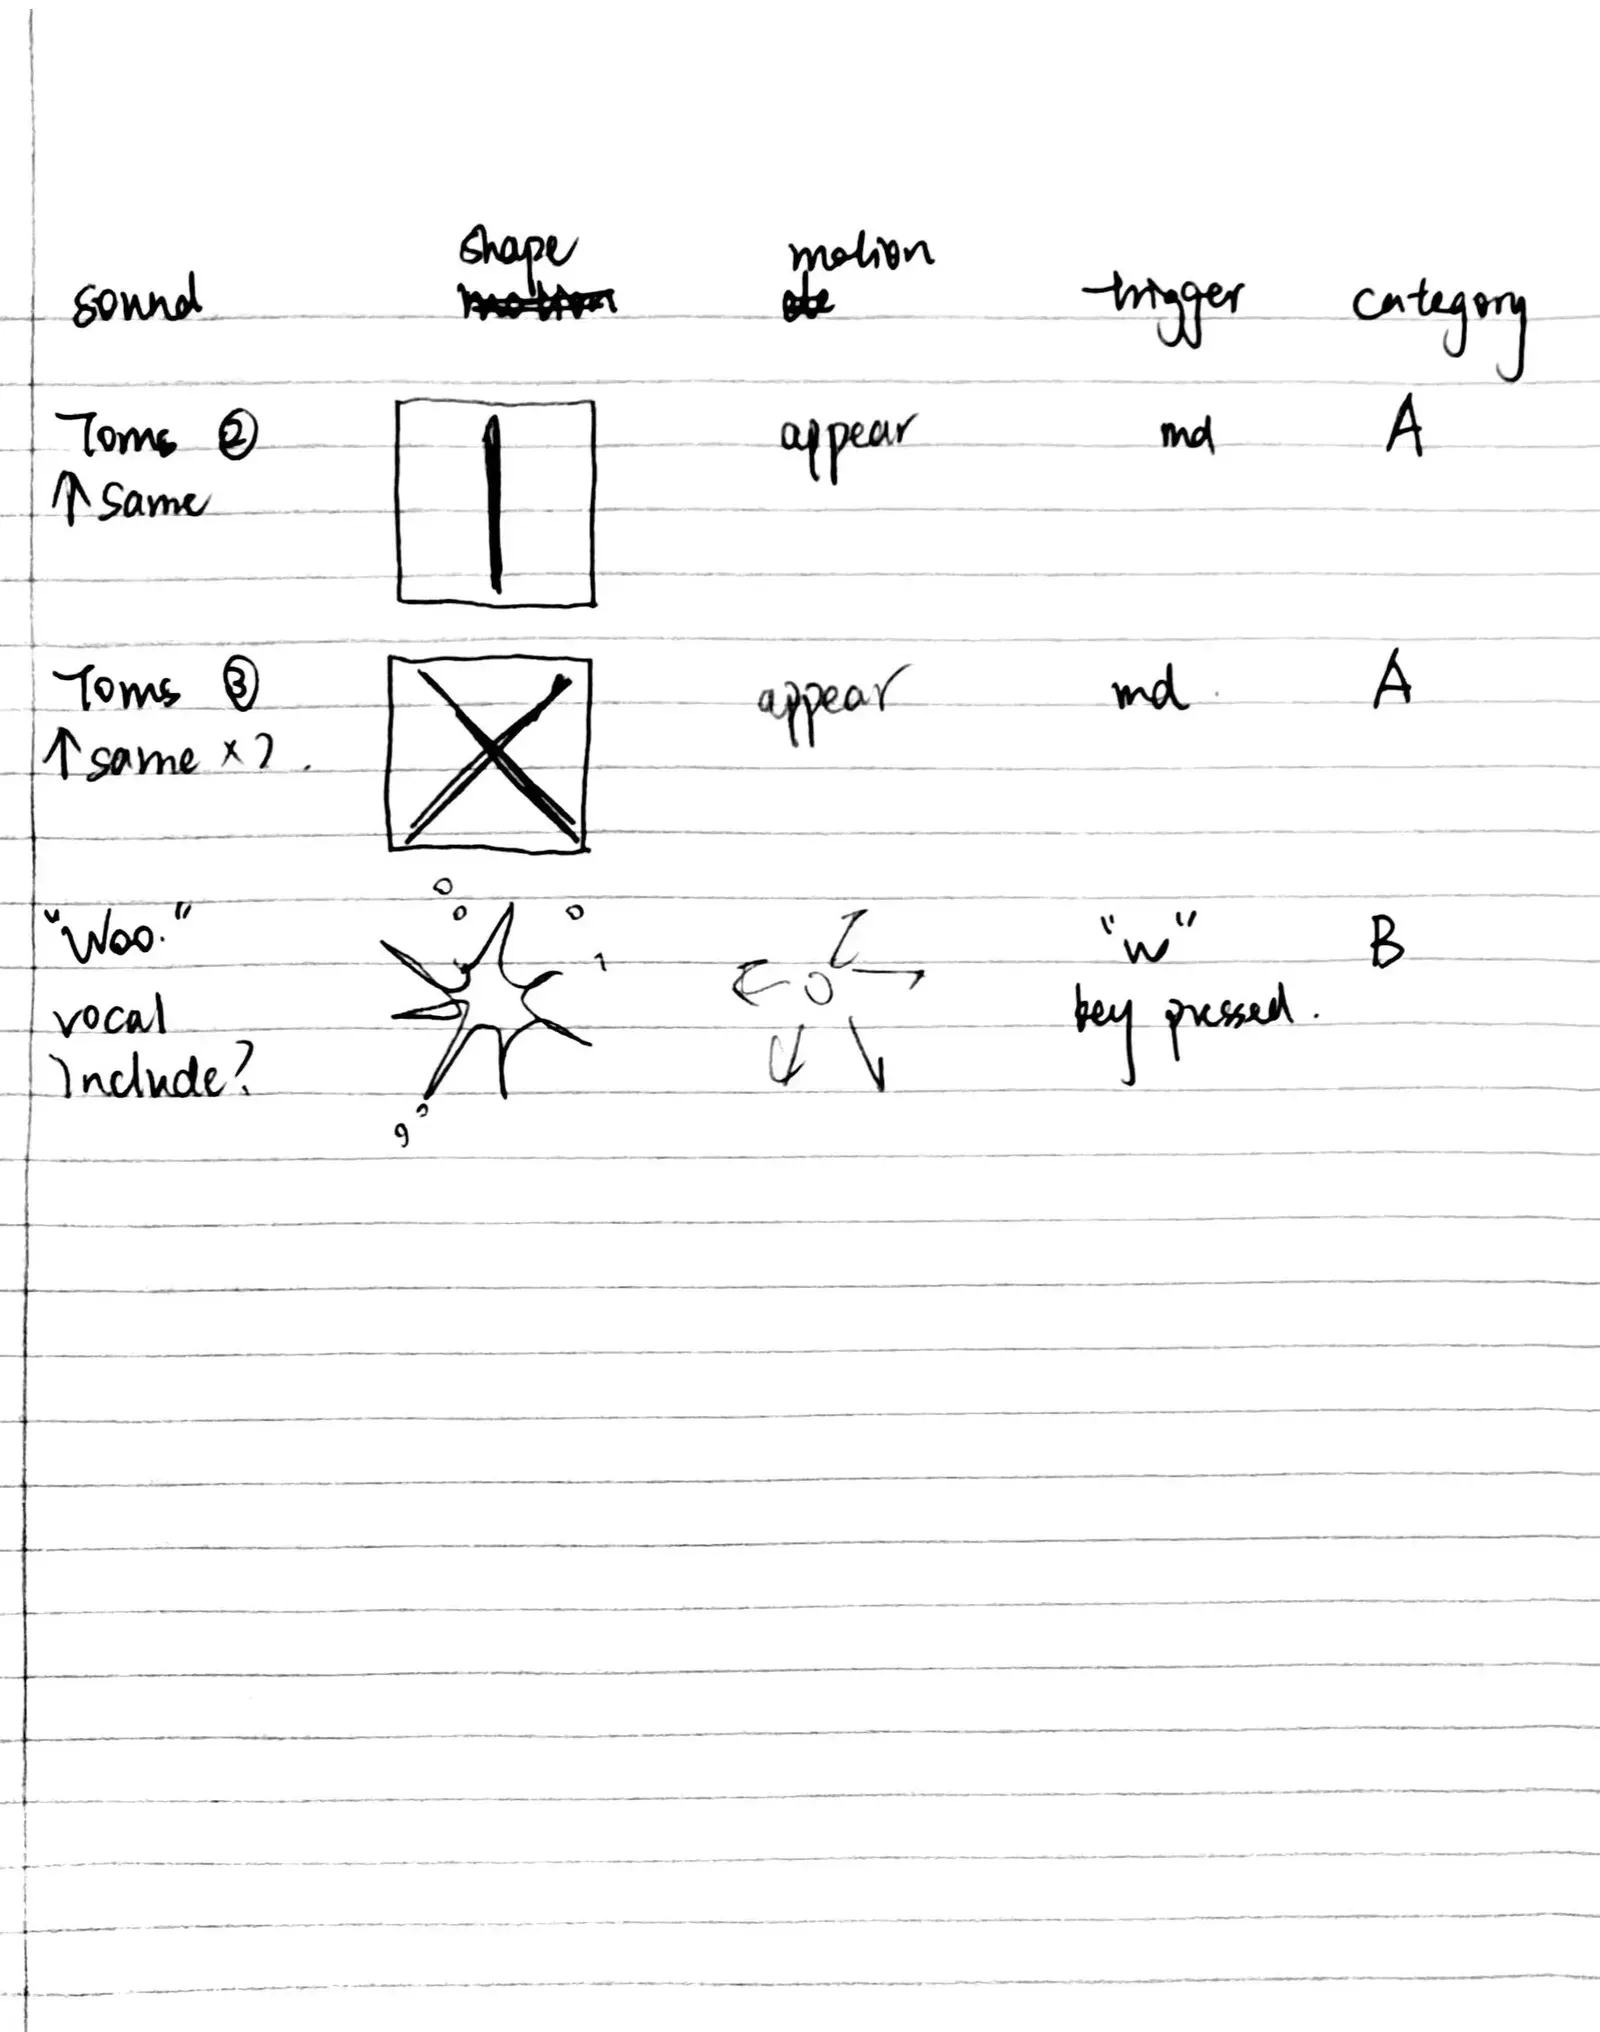
Interaction
Prototype
Before acquiring the audio samples, I built a Memphis-style prototype to explore visual possibilities.
Trigger
Since my visuals are divided into three groups, it makes sense for their trigger logic to be distinct as well.
Given my background in gaming, I think game-like controls would be an intuitive approach—more details below.
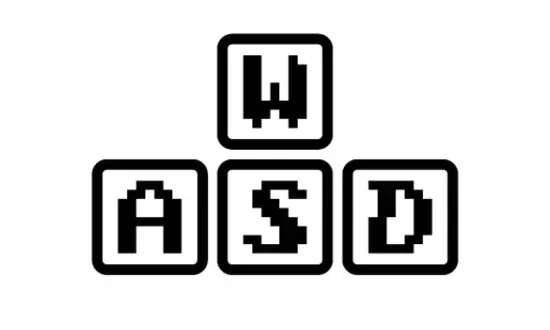
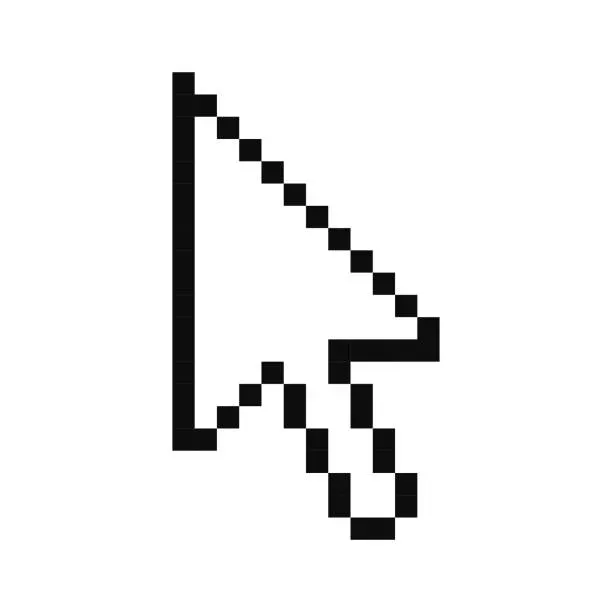
Why this works:
- The left and right hands have clearly assigned roles.
- For the 4×4 grid, hovering the mouse over the elements should create a fluid, engaging effect.
- The bigger motion graphics naturally map to WASD keys, making them easy to control.
- A fullscreen effect can be toggled with the spacebar.
Animation (Assets)
Since working with 16 separate pixel effects could get overwhelming, I opted to use Playscii to create individual animations. I’ll export them as PNG sequences and play them in p5.js.
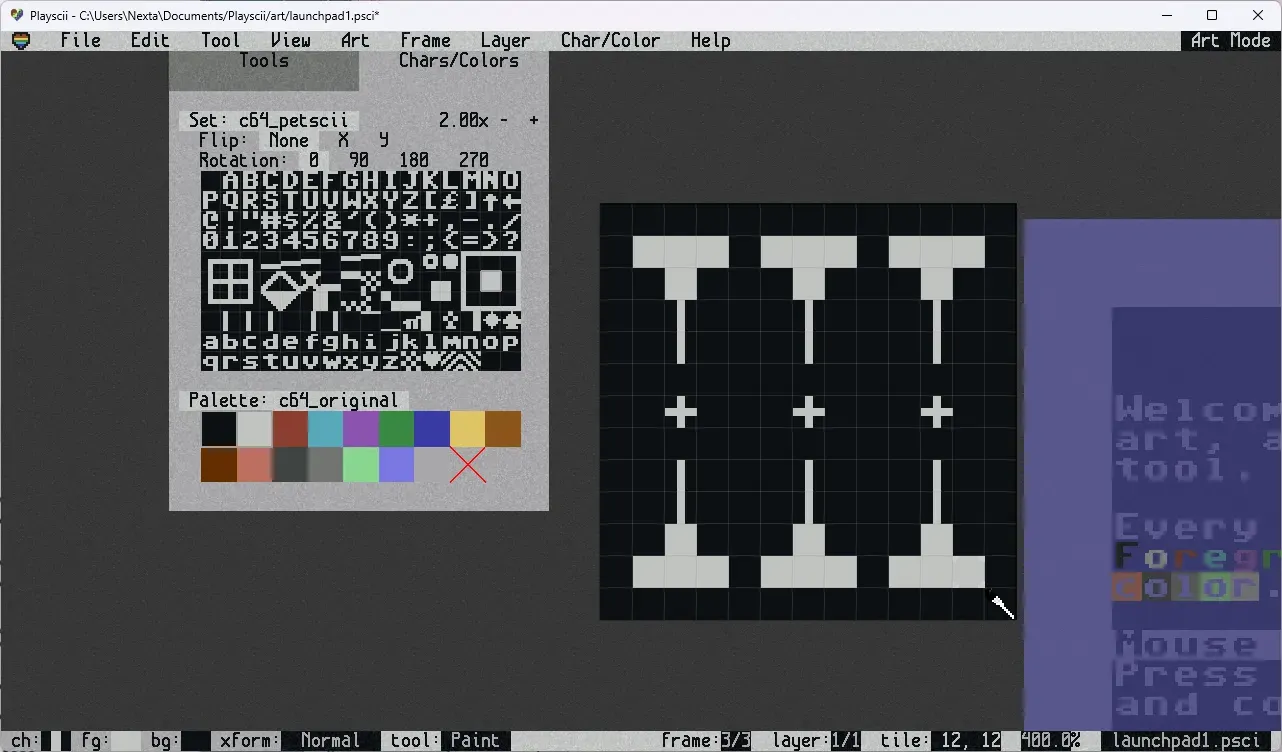

After tons of work, I finally finished animating all 16 blocks!!
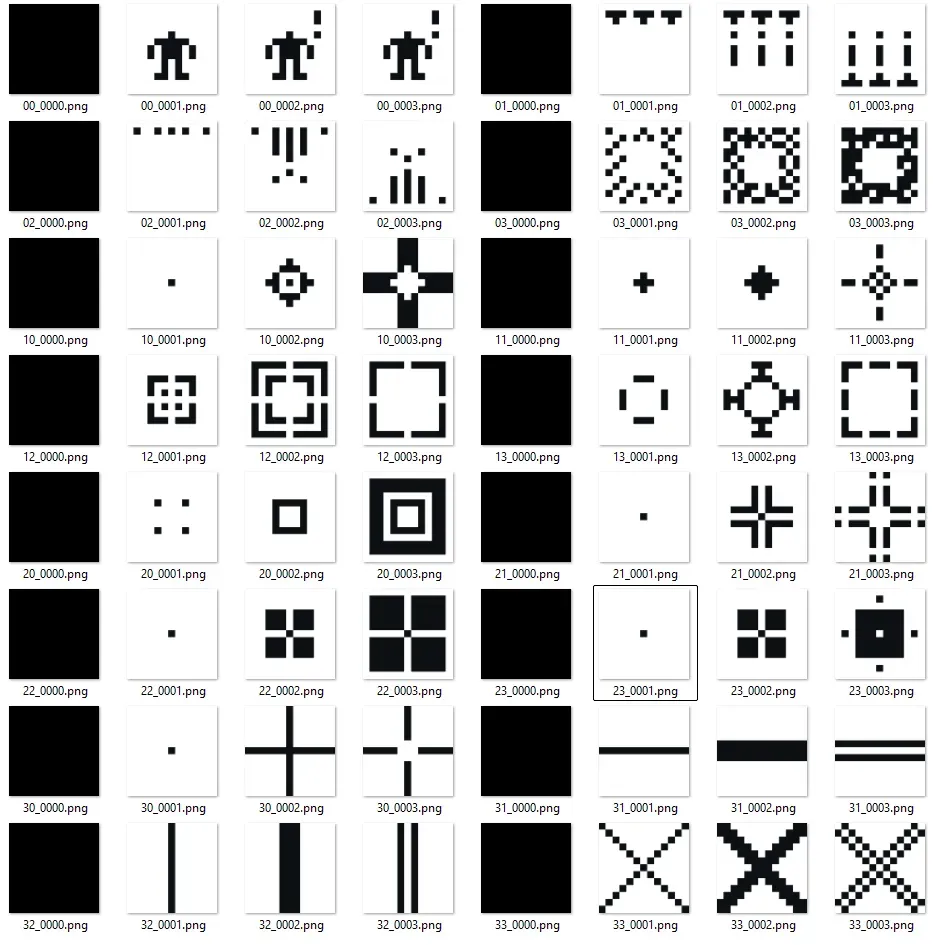
and now they look like this
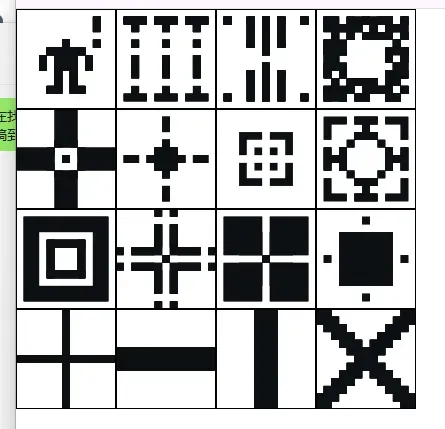
Coding Process
Step one: Get layer 1 working
with visuals
Step 2: Get Big Effects Working
I ended up scrapping the 8-bit snake-effect for two of the sounds because it was tricky to code. My initial idea was to map a Bezier curve to the audio playback length, but the Bezier was just being stretched in parallel—looked awful. So, I switched to a mosaic effect instead.
Wrote a couple of helper functions—one for a starburst effect that appears on impact, and another for generating the mosaic. The process of writing them was rough (should’ve recorded the whole thing), but seeing the results made it totally worth it.
Video: Before & After Comparison
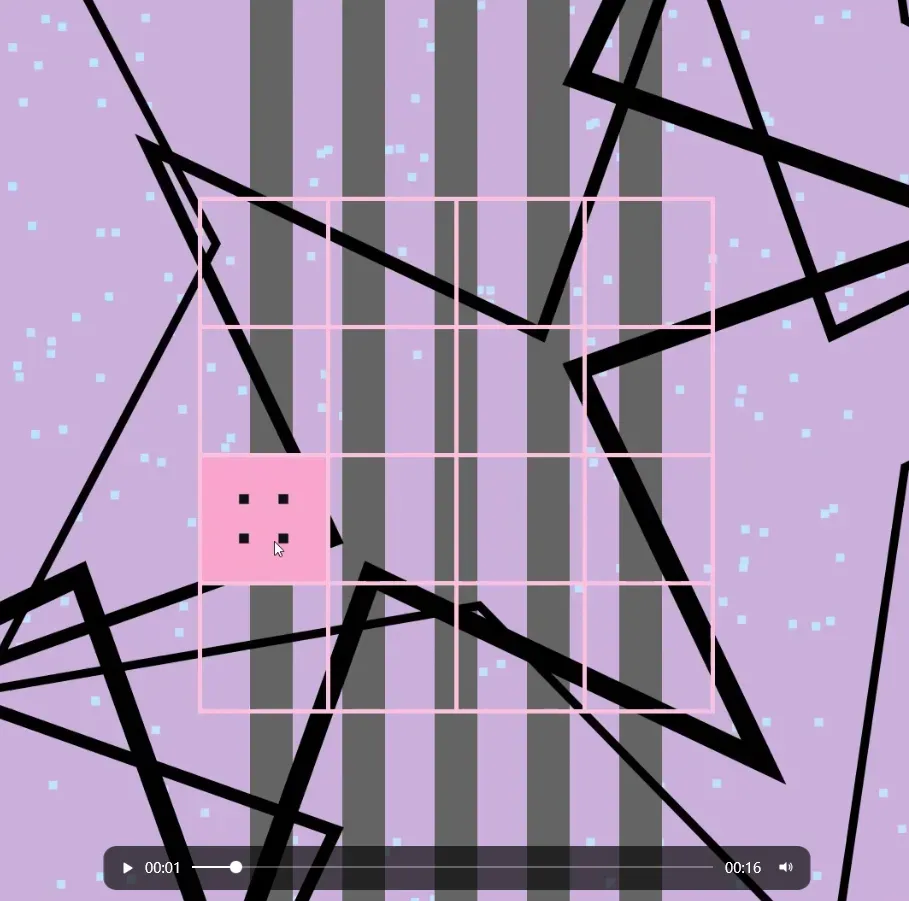
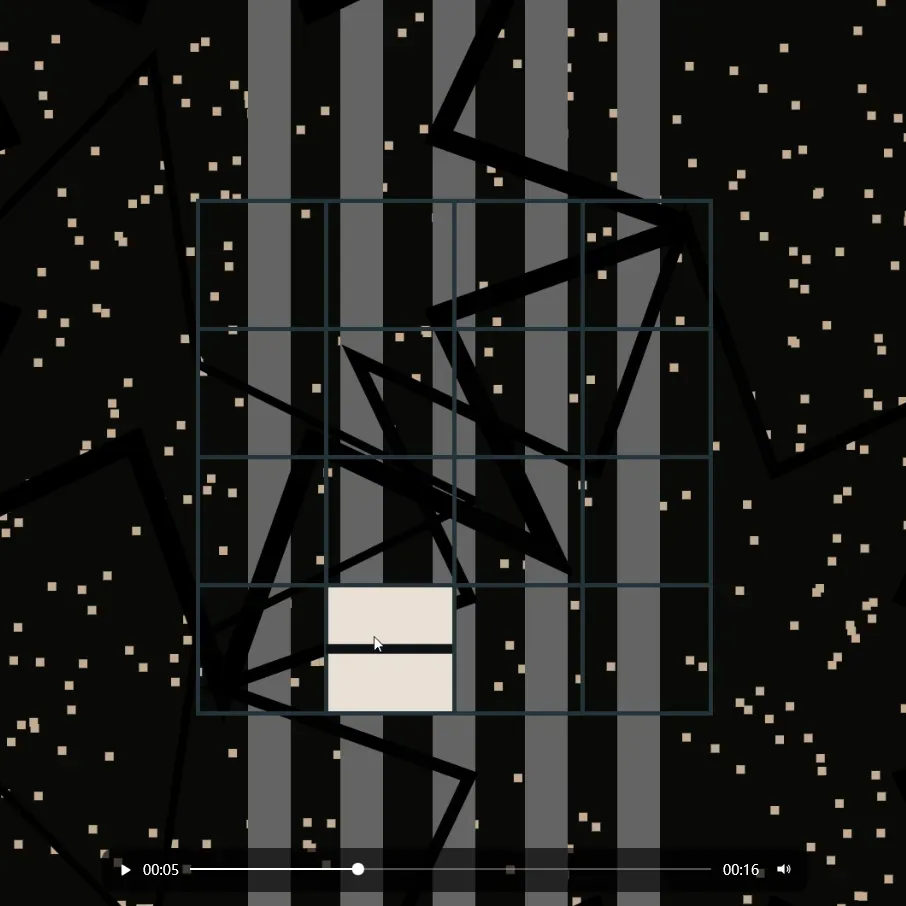
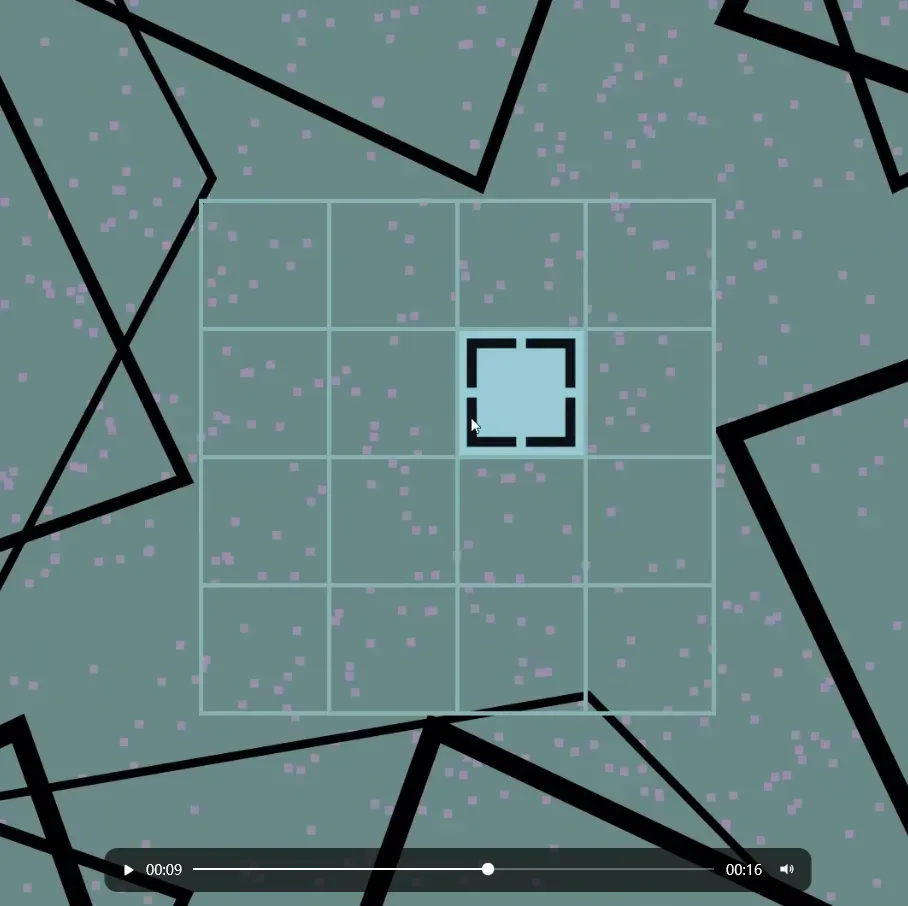
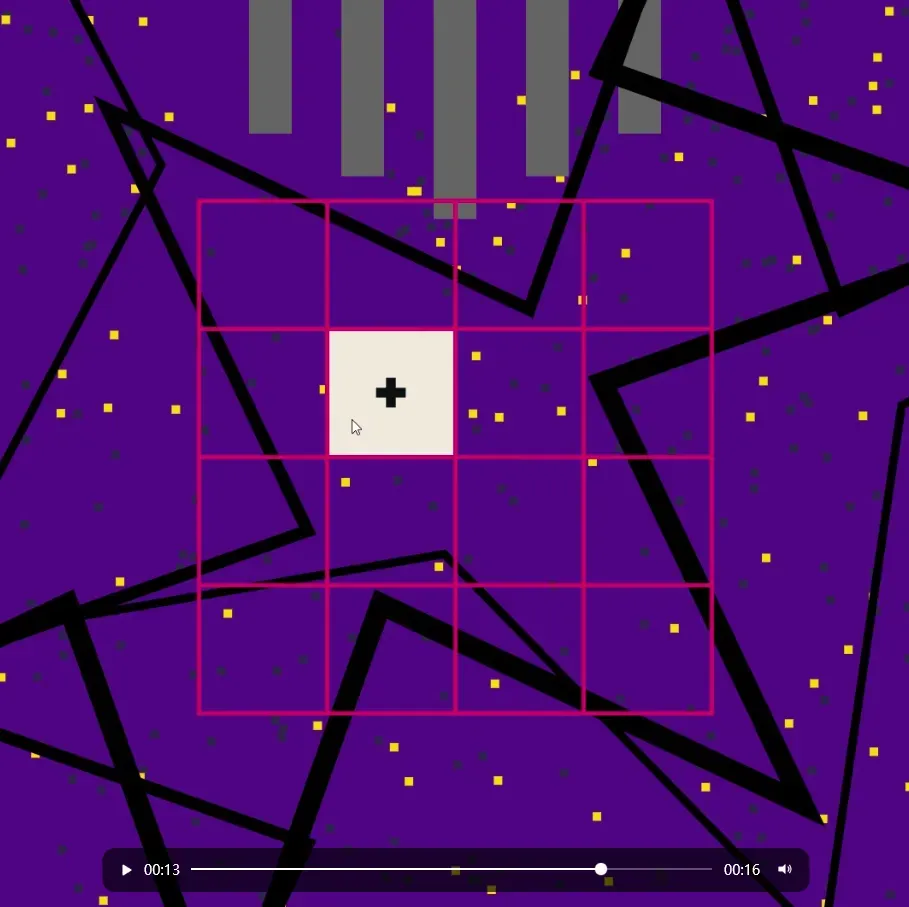
Step 3: Get overlaying effects working
Defined a global variable palettes, containing four color groups, each with five colors.
- At the start of draw(), I call background(palettes[currentPaletteIndex][0]) to set the background color based on the current palette.
- The grid borders, hover fills, and mosaic animation fills all use different colors from the same palette.
In preload(), I created four SimplePlayer objects and stored them in an array called paletteSwitchSounds.
In keyPressed(), every time spacebar is pressed:
- The palette switches (cycling through the index).
- The corresponding sound effect plays.
Extra: Global Analyzer + Misc Ideas
I wanted to add some waveform visuals, so I checked out the Tone.js docs.
- In Tone.js,
Tone.Destinationrepresents the output. It’s typically connected like this:
Two things to fix:
- If there’s no sound, I wanted to hide the waveform because a static line just looks… ugly. Solution: Compute the mean absolute amplitude as a volume threshold. If it’s below 0.05, consider the sound insignificant and hide the waveform.
- Visually, I felt there were too many lines and not enough solid shapes.
- Decided to fill in the waveform area instead of just drawing lines.
- Initial approach: Use the midline as the reference, then offset the vertices up/down based on the waveform values.
- Final approach: Instead of using the midline, I ended up anchoring it to the top and bottom of the canvas for a fully enclosed shape.
  let waveform = globalAnalyzer.getValue();

  let sum = 0;
  for (let i = 0; i < waveform.length; i++) {
    sum += abs(waveform[i]);
  }
  let avgAmp = sum / waveform.length;

  if (avgAmp > 0.05) {
    fill(255);
    noStroke();

    beginShape();

    vertex(0, height);

    let scaleFactor = 100;
    for (let i = 0; i < waveform.length; i++) {
      let x = map(i, 0, waveform.length - 1, 0, width);
      let y = height - waveform[i] * scaleFactor;
      vertex(x, y);
    }

    vertex(width, height);

    endShape(CLOSE);
  }
Also, this was a recurring issue:
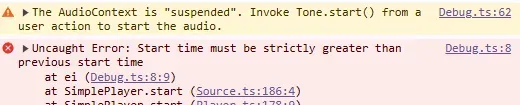
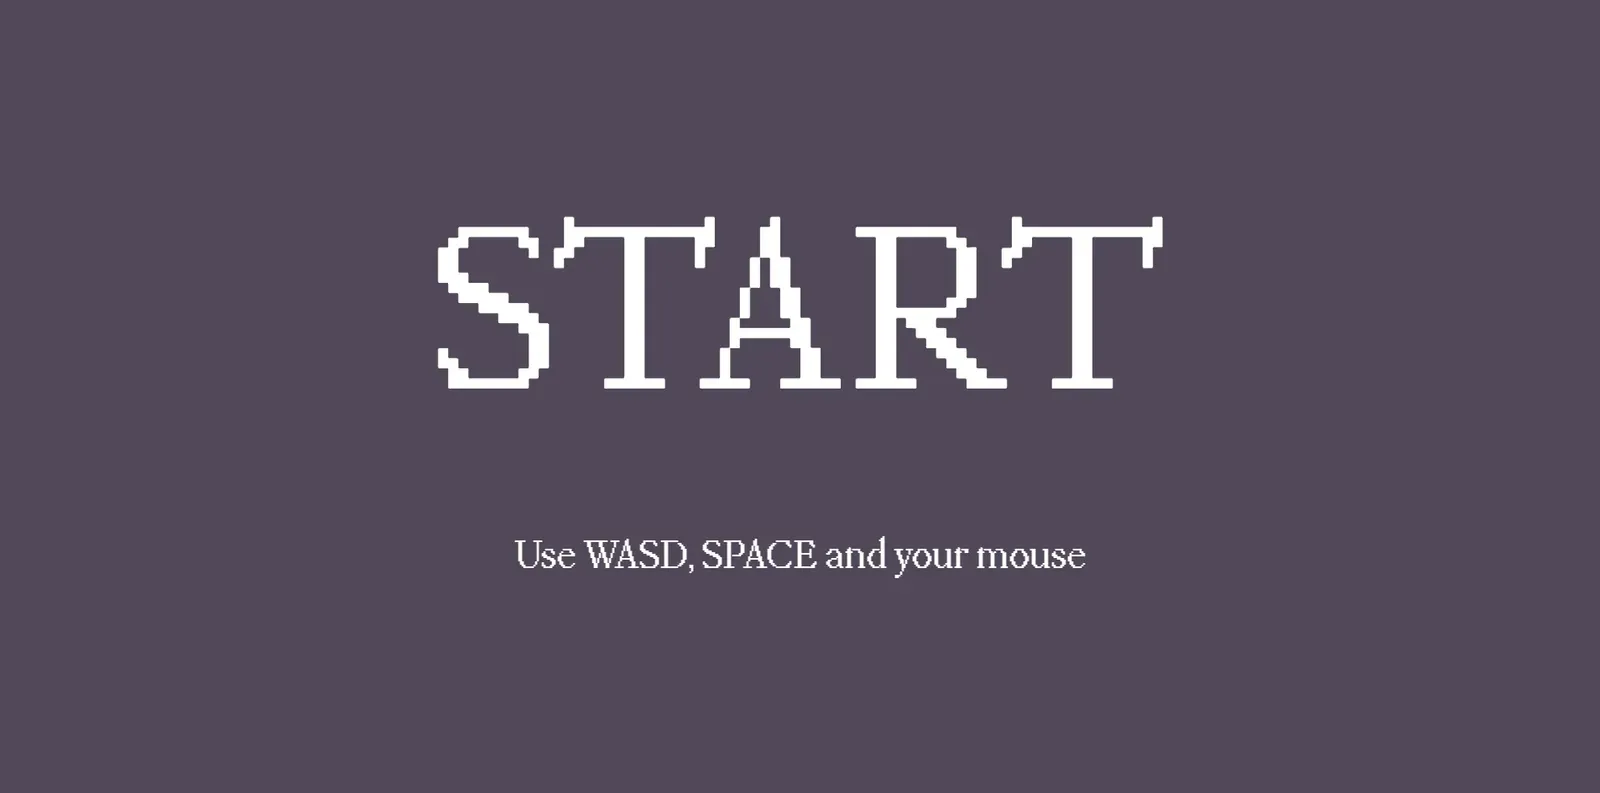
Sometimes the audio wouldn’t start properly (especially due to browser autoplay restrictions). I figured this was a good opportunity to add a user-friendly onboarding system.
Solution:
- Introduced a global state variable.
- Added a fullscreen overlay with a centered start button.
- When the user clicks start, it calls
Tone.start()(as recommended in the docs). - This ensures the AudioContext is resumed/created properly.
- Hides the overlay & button after initialization, transitioning into the main program.
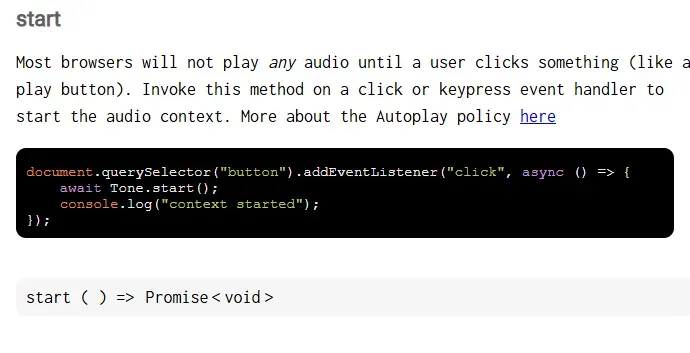
The classic dropping a global flag break condition into the draw() never gets old! Very helpful.
if (!started) return;